Wednesday, December 5, 2012

A Much Needed Headboard

Last Christmas the hubs and I got a king size bed that we had been saving for...don't get me wrong we like to snuggle but we both sleep much better now!  With a new bed meant we lost our queen size headboard, and if you know me, you know there is no way I'm going to drop several hundred dollars to buy a new headboard when I could make one myself.  Let the pinterest search begin!!  I had originally wanted to make an upholstered and tufted headboard...or I had considered making one from old pallets.  And, of course, I needed to do this on a budget...and sometimes I just enjoy the challenge of completing a project while spending as little as possible!!  In a way, it is kind of like a rush for me...I know, I know...I've embraced my inner geek meter!!

Here is a picture of our bed without a headboard

I actually had an old door in our house that I used as art/decor.  I got it from a yard sale for $15 and hadn't found a spot for it that was just right.  It had leaned up against a wall in the loft of our old house, then it was in our living room in our current house, and as our little one became more and more mobile we eventually moved it into the garage because we were concerned he could pull it down on himself.  And, with it being an old door it was solid wood and if it fell on him it would do some serious damage!!  So, no longer good for decor but could be perfect as a headboard!  Our bed was 77" wide and the door was an ideal 79" long...music to my ears!!  Of course, I forgot to take a before picture of the door...I promise I will work on my before and after picture taking skills!

I headed to Lowe's to get a 2x4 and some 3.5" screws.  I planned to turn the door on its side and attach a 2x4 to each side and then attach it to the bed frame.  The door needed to be painted and I wanted a vintagey-old look to it.  I started by sanding and then painting it a bluish-gray color, Kentucky Haze by Benjamin Moore, and then I dry brushed white over it.  Then came the hard part.  I got a 10' 2x4 and had Lowe's cut it in half, but one piece ended up being about 1/4" longer than the other, so I knew I would have to attach the pieces perfectly otherwise the headboard wouldn't be level.  And, a headboard that wasn't level would drive me crazy!  Seriously, can you imagine walking by it everday only to have it tilting just a bit?!?!?  So, I measured...and measured...and measured...I probably measured a dozen times before drilling holes for the screws, and thankfully, it paid off because it ended up being level!! WAHOO!!!  The only problem I had was getting the screws through the 2x4 and into the door...needless to say, some of the screws I just could not seem to get all the way into the door before they stripped.  I used wood screws and I'm guessing those were the wrong type to use or I didn't drill as deep as I thought I had, but once the screws were stripped there was nothing else I could do.  So, how did I fix it...well, I am cringing at even admitting this but I took a hammer and used it to bend the part of the screw that was sticking out so it would just lie flat.  I know, it hurts me to even think about it but after all that work I was not about to let a half an inch of a few screws keep me from finishing this headboard!  Besides, that part of the headboard is against the wall so no one can see it anyways...and if I hadn't admitted it, I would be the only one who knew, but alas, I digress.

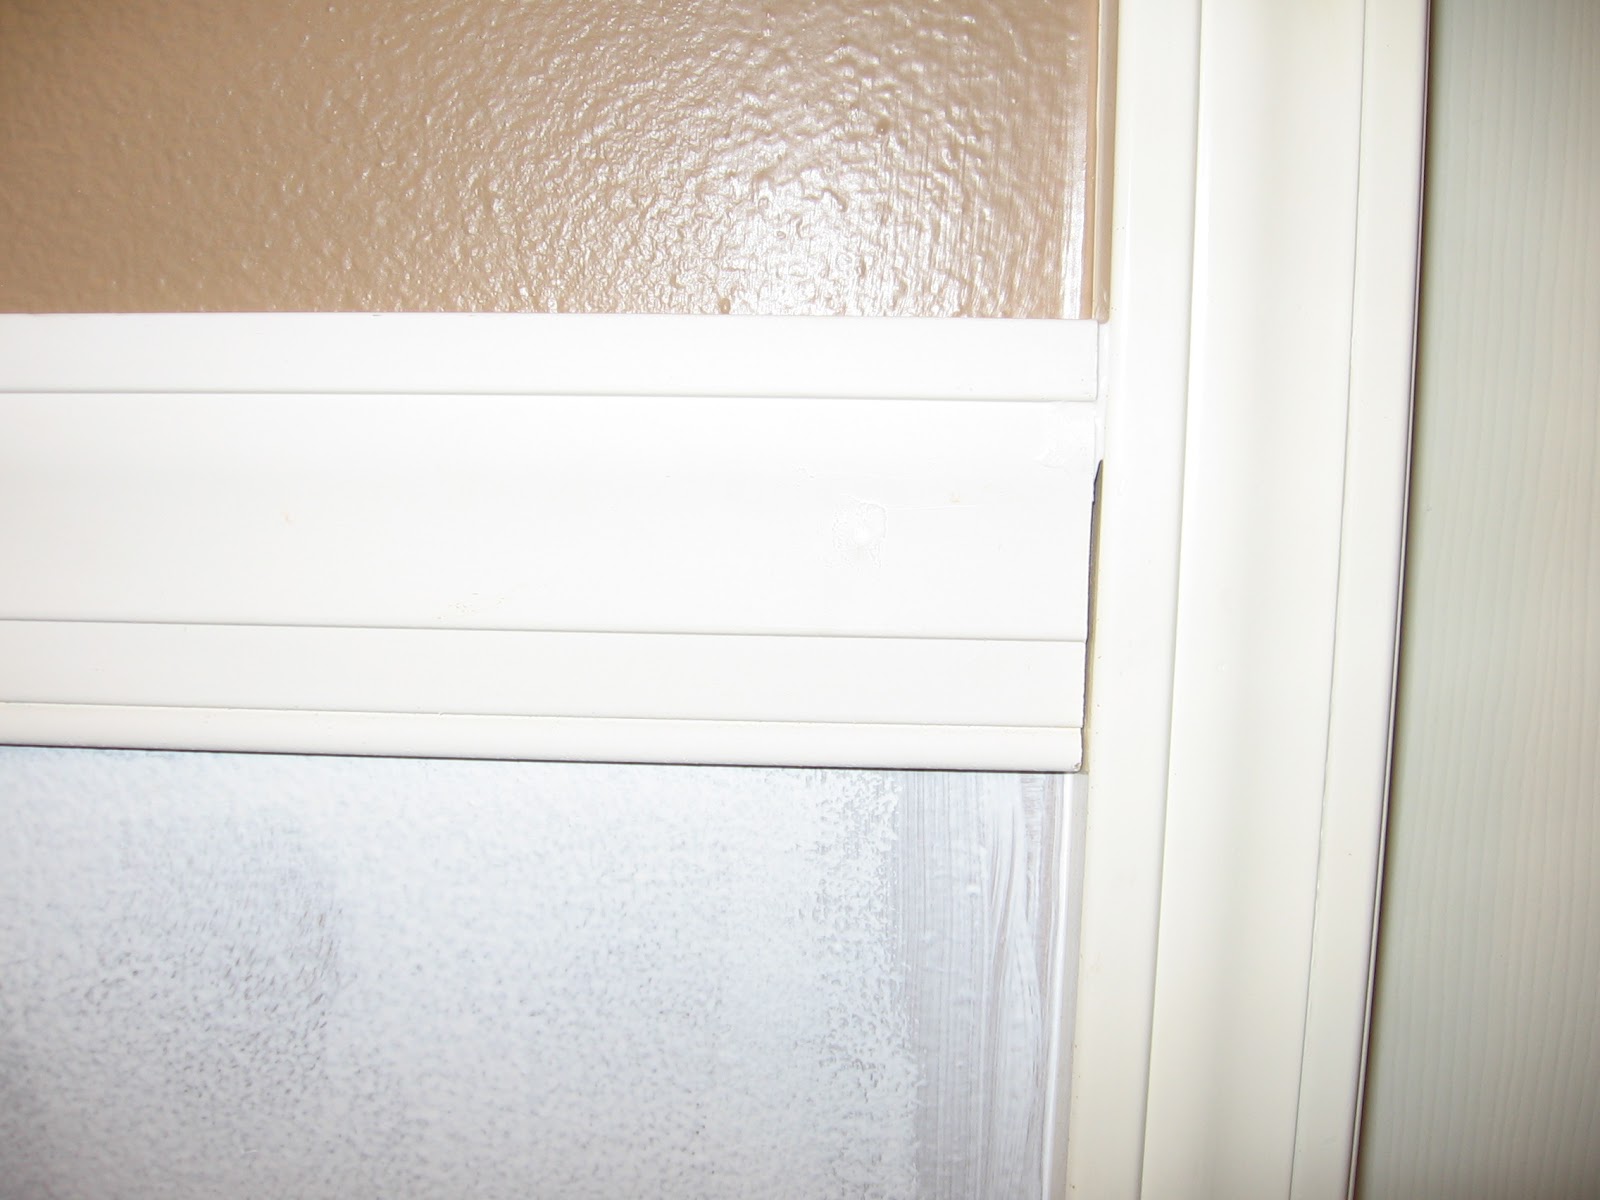
Here are some pictures of the screws after I bent them flush against the 2x4


Those pictures probably don't do it justice...but there you go! :)


Here is a picture of the backside of the headboard

Here it is in our room


I know the pillows are just sad...they have been a work in progress and I'm hoping to use some Christmas money to finish it all up!  Would love some new, taller lamps to go with our taller bed, but we'll see!


I know what some of you are thinking..."doesn't she realize that if she had of turned the door over then we wouldn't see the door handle and probably wouldn't even be able to tell that it was a door?!"  Well, I actually did that on purpose and that's kind of my favorite part! :)

Here's the breakdown:

Old door - $15
1 10' 2x4 - $8 (approx...I forgot to keep the receipt)
Screws - $5
Sandpaper and Paint - I already had

Total: $28...not too bad!


Thursday, September 27, 2012

Board and Batten

I was wanting some big visual impact in our kitchen and I wanted said impact for small bucks...so, after doing some research I came across some great tutorials for board and batten...well, faux board and batten that is!  Not only did it seem doable for this amateur but it seemed incredibly affordable, too!!  I couldn't wait to try it behind our dining table and boy am I glad I did.

I started by leaving our little one with the hubs and heading off to Lowe's.  By the way, for those of you who don't know this...I could stroll around Lowe's just for kicks any day!  I got some Board and Batten instruction and inspiration from some very talented bloggers...you can check them out here and here.

I wanted the top of the Board and Batten to come just below our light switch which turned out to be 4' tall, which made the cutting easier....well, easier for the guy at Lowe's since I didn't actually do any cutting myself! :)  Our baseboards aren't very thick and I didn't want the boards to stick out from the wall so much that they jutted way out over the baseboard, so I chose pine lattice wood that was 2.25" wide x 8' long.  I got 3 of these boards and had them cut in half.  The lattice wood was a little more expensive than if I had of chosen 1x4's but with such a small space I was able to spend a little more and still stay within budget...and the 1x4's would have stuck out from the wall too far for my taste so it was worth a few extra bucks.  For the top of the board and batten, I got a 3.25" x 6' mdf door casing, and had to have an inch or two cut off so it would fit in the space perfectly.  Both the lattice wood and the door casing were located in the door trim section at Lowe's.  I'm sure "door trim section" is the technical term! :)

I forgot to take a before picture, but here is a shot of the wall after I painted a coat of primer.  And, yes, that is my sons post-lunch highchair tray...as you can see, he had some sweet potatoes that day!

Here are the boards/lattice wood after I primed them.

I placed the boards 16" apart because I wanted them to all be nailed into a stud since I wasn't using liquid nails or anything to help hold them on the wall.  I put the boards up first and taped them in place so I could step back and make sure I liked how it looked before I nailed them in for good.

All in place and ready to be painted...or so I thought...

Do you see the gap between the door frame and the top of the casing????  Yikes!!

I had actually already started filling in the annoying little gap when I realized I should take a picture, so that's why the top part of the gap is somewhat presentable rather than that pesky little empty space that you see on the bottom part of it.  And, I know what most of you are thinking, "Seriously, that tiny little space really isn't that big a deal...let.it.go!"  Well, I just couldn't!  When I stepped back from my hard work, it was like that little space was mocking me.  So, I pondered for several minutes about how to fill it in.  I knew using spackle would be pretty tough due to where this was located...trying to fill it in between the door frame and the casing with spackle seemed like I would have an uneven mess and would create another annoying little mistake to glare at me everytime I walked by.  So, what's a girl to do....can you guess????  I grabbed our handy dandy toothpaste!!  That's right...toothpaste!!  I think it was arm and hammer paste to be exact but I'm sure any white paste-like toothpaste would work.  It was perfect for filling in this little gap because I could easily squeeze some onto my finger, fill the gap, and then wipe off the excess.  I'm sure a pro would have used silicone or caulk, but we didn't have any and I didn't want to make another trip to the store.

And, here it is all filled in and pretty...much better!!

Again...

And, one final pic for good measure!!  Who knew toothpaste could make a girl so happy! :)

I finished it off by setting the nails and filling in the nail holes with spackle for a smooth finish.  Then I painted it all, which turned out to be a much bigger task than I anticipated, but I eventually got it finished.


I actually found a before picture on my phone...I think I took it after painting out kitchen table.  So, here is the space before.

And, after.

From the side.

Here is what the lattice wood looks like against the baseboard...I like that it doesn't stick out any further than it does.  1x4s would have stuck out much further than I wanted.


Here is a breakdown of the supplies I used and the total cost:

Primer        
Paint            
Small nails    
Hammer
Nail set
(I had all of these so they didn't cost any extra)

3 pieces of pine lattice wood at $8.10/each = $24.30
1 mdf casing at $8.19
6 pack of paint rollers at $8.97

total: $41.46 + tax

and I only used 1 of the rollers so I'll have extras for future projects!

Here are some things I would have done differently...or the "learn from my mistakes" part:

1.  Having a nail gun would have made this much quicker.  Nailing in each nail and then having to set each nail took quite a bit of time.
2.  The casing came primed, and I didn't paint if before putting it up.  Oh how I wish I had!!  Since that was the piece that sat next to the wall, it would have been much easier had I painted it and then installed it.  Then, I could have just touched up where the nails were.  However, since I didn't paint it before installing it, I then had to paint it once it was already up, which caused me to get white paint on the brown wall.  Once I had painted it white, I then had to go back over the brown where I had messed up.  Anyways, it would have saved time to paint it before installing!


There you go!  My first tutorial...and I hope it didn't create too much confusion!!  Let me know what you think and if you have any questions.

Happy DIY-ing!!


Saturday, July 14, 2012

Well, here I am.  Doing something I thought I would never do.  Blogging!  I read blogs all the time...some are friends' blogs, friends of friends' blogs, and then I find myself on blogs I've never heard of and am suddenly intrigued by this stranger.  Someone who is writing about a delicious recipe that sounds scrumptious, but that I will probably never end up cooking...or explaining how to do a project that I want to try, too...and that's when it happens...I get sucked in!  This is where I really start losing track of time.  You see, I am a do-it-yourselfer at heart!  I love projects...craft projects...home improvement projects...you name it, I have probably considered trying it...or I have tried it already!   


But, I never thought I would try to blog.  I have always had this feeling that I wouldn't quite be cut out for it.  My friends who blog are so disciplined.  It seems they are able to blog on a regular basis with such eloquence even when they are discussing their families weekly menu...and I'm just not sure if that's me.  I mean, what if I end up blogging and then I look up and it has been 14 months since I've even considered writing something half-way interesting.  What will readers think?  But, then I thought to myself...who cares.  So what if I am not as disciplined as some bloggers.  Will it really be the end of the world???  Nope...not at all!!  There may not be anyone who reads this anyways...haha!! :)


This will probably be a blog with a little bit of everything...some about my faith.  You see, I am a follower of Jesus Christ.  I hope that he is constantly on my thoughts and resonates on my lips.  I pray that if you happen to stumble across this blog that you would trust in the saving grace of Jesus Christ.  He died for sinners not for good people...run to him in faith!!


I am sure that at some point I will blog about my fam...my sweet husband and our super cute little boy...how can I not at least talk about our little sweet pea!!


And then, I hope to do some DIY blogging as well!!  Lots of the ideas and instruction I get on projects have all been from reading other blogs...the least I can do is give back to the world of do-it-yourselfers and explain some of my DIY adventures so readers can learn from my mistakes!!  I think I learn something new every time I redo a piece of furniture...and then I want to go back and refinish all the furniture in our house!! :)


So, here goes...hope you enjoy!!